.svg)

Mylar bags have become a top choice, whether it's storing rice or dried beans, coffee, or supplies. These bags let you know how important it makes a difference when you learn how to seal a Mylar bag properly.
For short-term storage of snacks or long decades of preservation. Follow this complete guide that involves everything you need to know-from the tools and tips to some common mistakes to advanced sealing techniques.
Tools You Need to Seal Mylar Bags
Before you start to seal Mylar bags, gather these basic tools:
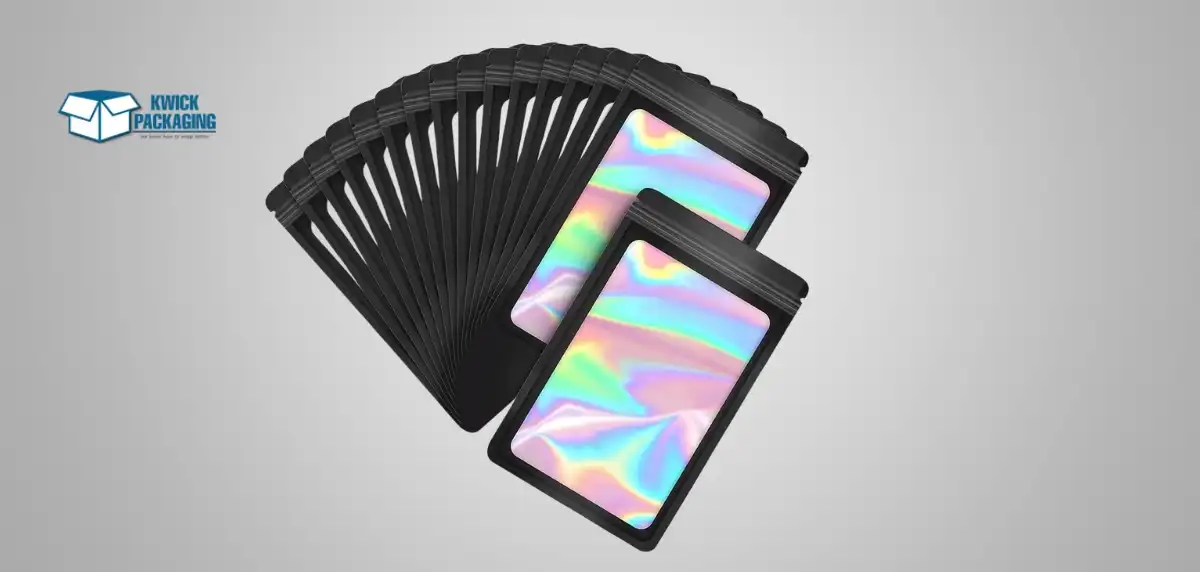
- Mylar bags: Choose food-safe, heat-sealable bags (5 mil thickness is ideal).
- Heat sealer: Options include impulse sealers (hand-held) or flat-bar sealers.
- Iron or hair straightener: Useful when a sealer isn’t available, though not ideal.
- Oxygen absorbers: For keeping dry goods fresh over time.
- Heat-resistant surface: like a cutting board, metal tray, or a thin wood board.
- Labeling Supplies: permanent marker and tape for keeping track of contents and dates.
8 Steps to Seal Your Mylar Bags

This step-by-step guide helps you seal the Mylar bags effectively:
Step 1: Choose the Right Bag
The first step is that choose a Mylar bag that aligns with the amount of food you want to store. An example would be a multiple-layer bag for a few-pound dry food application with a thickness of around 7 mil.
Step 2: Add Oxygen Absorbers
Place your food in mylar bag, add an oxygen absorber, and press out as much air as possible.
Step 3: Prepare Your Heat Source
If using an impulse sealer, plug it in and let it warm up. For irons or hair straighteners, set to high (no steam).
Step 4: Position the Bag
Lay the bag flat on a heat-resistant surface. Make sure the open edge is smooth and clean.
Step 5: Seal the Bag
Clap the sealer or iron across the top of the bag. Hold it steady for 2–4 seconds. Make sure the seal is flat and even.
Step 6: Test the Seal
Lightly tug on the sealed edge. If it stays shut, it’s good. If not, reseal it with more heat.
Step 7: Optional Second Seal
You can seal a second line slightly below the first for extra security.
Step 8: Label the Bag
Use a marker to write the content and packing date.
Common Mistakes that Should be Avoided
- Wrong temperature: Too low and too high temperatures
- Uneven pressure: Leaves gaps; the seal should be smooth.
- Not removing enough air: Always push air out before sealing.
- No oxygen absorber: Essential for food storage; vital for shelf life.
- Cutting too close to the seal: Leave a margin for strength.
- Using incorrect bag type: Avoid non-food-grade or unsealed edges.
For more about mylar bags, read our helpful blog: Are Mylar Bags Recyclable?
Conclusion
Sealing Mylar bags is straightforward as soon as you know the trick. The most important thing is that you don't have to spend hundreds on them-they just really need to be the right size for the job, and sealing Mylar bags is more than clamping the top-it's an art that requires proper tools, technique, and care in keeping your food gear preserved for months or years. You get the benefits of airtight seals, spoilage prevention, and an effective yet simple storage scheme by following this guide.
Now that you know how to seal Mylar bags with confidence, you will be fit to preserve your favorite dishes and supplies in the smartest way possible. Looking for the right bags and tools? Check out Kwick Packaging—we’re here to help you get started without headaches.
Kwick Packaging offers quality Mylar bags in all sizes. From food-safe storage bags to custom-printed packaging for your business, we provide strong, affordable solutions. We also guide our clients in making better packaging choices, especially when considering concerns like sustainability and waste.